


Cast Iron vs. Carbon Steel vs. Spun Iron: What’s the Difference?
Cast iron, carbon steel, and spun iron pans are all made of iron. In fact, carbon steel has a higher iron content than cast iron and spun iron. Confusing? We know. That’s why we put together this guide.
We’ll walk you through the differences between these three styles of cookware, detailing their relative advantages and disadvantages, so you can decide which material best suits your needs. But first…
Why Cast Iron, Carbon Steel or Spun Iron?
The allure of cast iron, carbon steel, and spun iron pans comes down to three factors: heat retention, durability, and a ‘patina’ that develops over time to make their surfaces release food with minimal sticking.*
-
Heat Retention: These pans get very, very hot, and retain that high level of heat during cooking. This translates to superior browning, searing, and crisping up of food, and it is the number one reason home cooks invest in one. Think steaks (beef, tuna or tofu), charred Brussels sprouts, and snappy stir-fries.
-
Durability: These pans are robust by nature – that’s why they can go directly on the flames of a barbecue or campfire. All three are heavier to lift than a copper, stainless steel or non-stick pan, which is a sign of their robust construction. They last a lifetime, and can be passed down through generations. Even an old, rusty pan can be revived to perfect condition with a good seasoning session. Speaking of…
- Patina: Also known as seasoning, the patina of a cast iron, carbon steel, or spun iron pan is a layer of polymerised fat. Here’s how the Lodge Cast Iron website describes polymerisation: 'When oils or fats are heated at a high enough temperature, they change from a wet liquid into a slick, hardened surface. This reaction creates a layer of seasoning that is molecularly bonded to the iron.' That layer, or patina, is what allows these pans to easily release food. While it won’t be as slick as a non-stick pan – unless the patina is very, very strong – this more natural, traditional method comes close.
*This article talks about raw cast iron pans, not enamelled cast iron pans, which do not build a patina over time because the enamel acts as the cooking surface. We carry enamelled cast iron cookware from Staub.

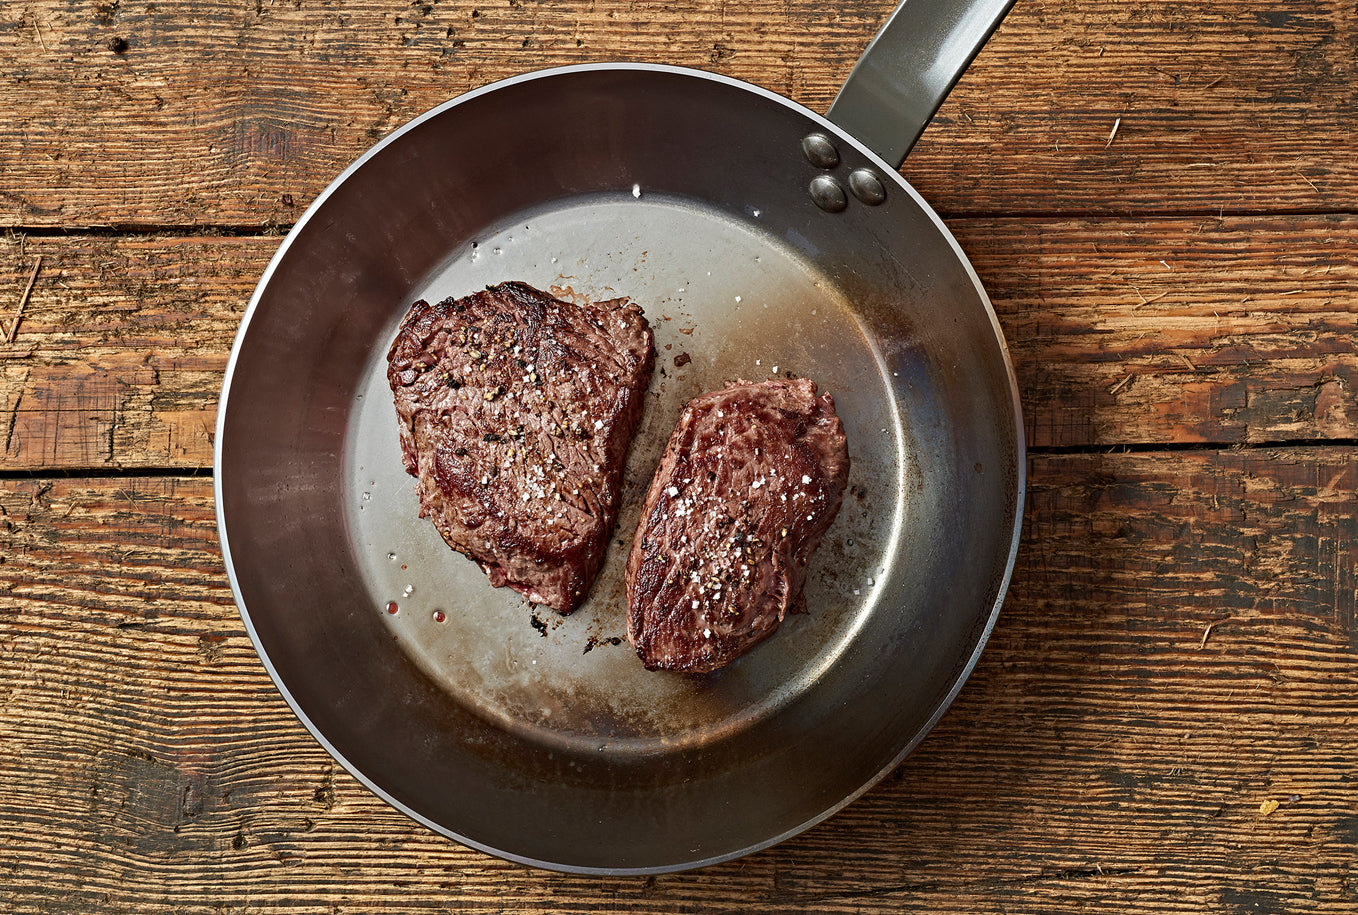
A perfect seasoned carbon steel pan, like the De Buyer Mineral B Frying Pan (above), will change colour from grey to black when the patina has become stick-resistant.
Maintenance (How to Clean After Each Use)
To reap the benefits described above, you have to put a bit of extra effort into cleaning and maintenance. (It is worth it!) This is because you should not use washing-up liquid or metal scouring pads to a clean cast iron, carbon steel, or spun iron pan. It will wear down the patina, as well as cause the pan to rust. You absolutely should not put these pans in the dishwasher.
The best way to clean each one of these pans after each use is a two-step process:
The best way to clean each one of these pans after each use is a two-step process:
-
Step 1: Heat your emptied pan on the hob for a few minutes, then transfer to the sink and run very warm or hot water over it (be careful of the steam). Wipe the pan clean with a soft brush or soap-free sponge. If food is stuck-on, or if you just want a thorough clean, dilute some salt with water to create a paste. Use that as you would washing-up liquid. When done, wipe dry with a tea towel.
- Step 2: Return the pan to the hob and set the heat to medium. Add a very small amount of neutral oil and rub it all over the base with cloth, kitchen roll, or silicone brush. Make sure the oil is completely thin and invisible; an excess of oil will cause sticky blotches to form. Wipe with cloth or kitchen roll until it looks like there is no oil left. Increase the heat to medium-high and leave on the burner for a few moments, until you see a little bit of smoke. Then turn off the burner, let the pan cool, and store it in a dry place.
Every time you clean a pan this way, the patina becomes stronger.
Seasoning (Prior to Use, or to Boost Patina)
Most cast iron and spun iron pans come pre-seasoned, which means you can cook with them straight out of the box. Carbon steel pans, unless specified as being 'pre-seasoned', should always be seasoned before use.
Even if your pan comes pre-seasoned, we recommend doing an initial seasoning before using the pan. It kickstarts the patina and makes clean-up easier. We also recommend seasoning anytime you feel the pan could use a boost, or is looking dull. It will bring it back to good shape.
Even if your pan comes pre-seasoned, we recommend doing an initial seasoning before using the pan. It kickstarts the patina and makes clean-up easier. We also recommend seasoning anytime you feel the pan could use a boost, or is looking dull. It will bring it back to good shape.
How to Season a Pan on the Hob
This method will work for all cast iron, carbon steel, and spun iron pans, including pans with wooden handles. It takes about 15 minutes, start to finish.
- If your pan has a beeswax coating (like De Buyer Mineral B and De Buyer Mineral B Pro pans), rinse the pan with warm water, soap, and both sides of a sponge to remove any coating. Towel dry and place over low heat to finish drying. If there is no beeswax coating, you can skip this step.
- Open the windows and turn on the vent; this process will generate a bit of smoke.
- Add enough high-burning neutral oil to cover the bottom of your pan, and place on the hob over medium heat. As the oil gets hot, use tongs to move a rolled up piece of kitchen roll or the peels of a potato around the pan, spreading the oil all over the sides.
- Increase the heat to medium-high and cook the oil for 8 to 10 minutes, continuing to spread the oil around the pan. If your pan is grey to begin with, it will turn brown as you keep doing this. Black pans will not change colour.
- Discard any remaining oil and allow the pan to cool. Clean with water and a towel. Your pan is now ready to cook.
How to Season a Pan in the Oven
This method is great for oven-compatible pans. This includes Lodge or Finex cast iron pans, and De Buyer Mineral B Pro pans (make sure to remove beeswax coating with soap and water first). Pans with wooden handles, like select Netherton Foundry spun iron pans or Skeppshult cast iron pans, cannot be seasoned in the oven, unless you remove the wooden handles first.
- Preheat the oven to 250°C/230°C fan.
- If your pan is new, skip this step. If your pan is rusty or tarnished, or if it comes with a protective beeswax coating, scrub the surface with soap, water and a sponge. It is okay in this case because you are re-seasoning.
- Pour a small amount of high-smoking neutral oil into the pan, no bigger than a coin. Rub all over the base, exteriors and handle. Be careful not to use too much, and remove as much excess oil as possible, to avoid sticky patches.
- Place the pan upside down in the oven and ‘bake’ for 1 hour. If you'd like, place a baking sheet at the bottom of the oven to catch any oil drips. Allow the pan to cool before storing.

Select cast iron pans, like the Lodge Chef Collection Skillet (above), work in the oven and the hob.
Cast Iron Pans
Cast iron cookware is made by pouring molten iron into pre-shaped pan moulds. While Lodge handles are typically part of the mould, Finex handles, made of stainless steel, are securely attached to the base with rivets. Our Sweden-made cast iron pans from Skeppshult have removable wooden handles that can be screwed on or off. The advantage of having stainless steel or wooden handles is that they stay cool on the hob as you cook.
While styles of cast iron pans vary, for the most part, cast iron pans are thick and black. The most classic piece of cast iron cookware is the skillet, which is essentially a frying pan with straighter, taller sides (for more surface area) and shorter handles.
While styles of cast iron pans vary, for the most part, cast iron pans are thick and black. The most classic piece of cast iron cookware is the skillet, which is essentially a frying pan with straighter, taller sides (for more surface area) and shorter handles.
Pros: Cast iron pans always come pre-seasoned, which means they already have a powerful patina in place before you even start using them. They also have a rougher surface than carbon steel or spun iron pans. This makes them much easier to clean and maintain. Their thick construction also makes them highly resistant to warping, especially on induction hobs.
Cons: Due to its thicker body, it is not as heat responsive as carbon steel or spun iron.
De Buyer Mineral B pans must be seasoned before use to remove the protective beeswax coating.
Carbon Steel Pans
Carbon steel is made differently from cast iron. Instead of the material being poured into pre-shaped moulds, it is built in two separate parts: pan and handle. To make the pan’s base, sheets of metal are pounded or spun into shape, and handles are attached to the base with rivets. This is similar to how traditional frying pans are made.
Carbon steel is used more often in France, where the popular De Buyer Mineral B pans are made. Carbon steel has also been used in China for centuries, where it is the traditional material for woks.
Pros: It is more heat-responsive than cast iron, due to its thinner construction and shape. It is typically easier to lift and manoeuvre. Because the colour changes from grey (not seasoned) to brown (on its way) to black (perfectly seasoned) over time, you have a visual cue to how strong the patina is. Many cooks like seeing their pan transform before their eyes, as a mark of their progress.
Cons: Carbon steel pans must be seasoned before use, unless marked 'pre-seasoned' (which is rare). Building a patina on these pans takes a bit more time and effort.

Based in Shropshire, Netherton Foundry pans are 'spun' into shape on a lathe. They have a wide range of cookware, bakeware and accessories.
Spun Iron Pans
You don’t see 'spun iron' as often as you see cast iron or carbon steel, and that’s because it is unique to Netherton Foundry. Based in Shropshire, Netherton Foundry draws from the region’s rich heritage of ironmongery. The material is called ‘spun iron' because sheets of iron are spun on a lathe to achieve their shapes. Think of these pans as the halfway point between cast iron and carbon steel.
Netherton Foundry has a wide range of cookware, from their cult classic Prospector Pan – perfect for oven-to-table dining – to smaller accessories.
Pros: Netherton Foundry pans have excellent heat-responsiveness and are easy to manoeuvre. Every pan comes pre-seasoned, so seasoning is not required before first use, though we recommend it. They have a uniform black colour. They are made right here in the UK.
Cons: Not all Netherton Foundry pieces are oven-safe; check before use. Due to the relative thinness of spun iron material, it is more likely to warp than cast iron. Exercise caution when using these pans on induction hobs – gradually increase heat when cooking and never, ever use the ‘boost’ function.


